
Tutorial
Install Cytoscape Back to Top
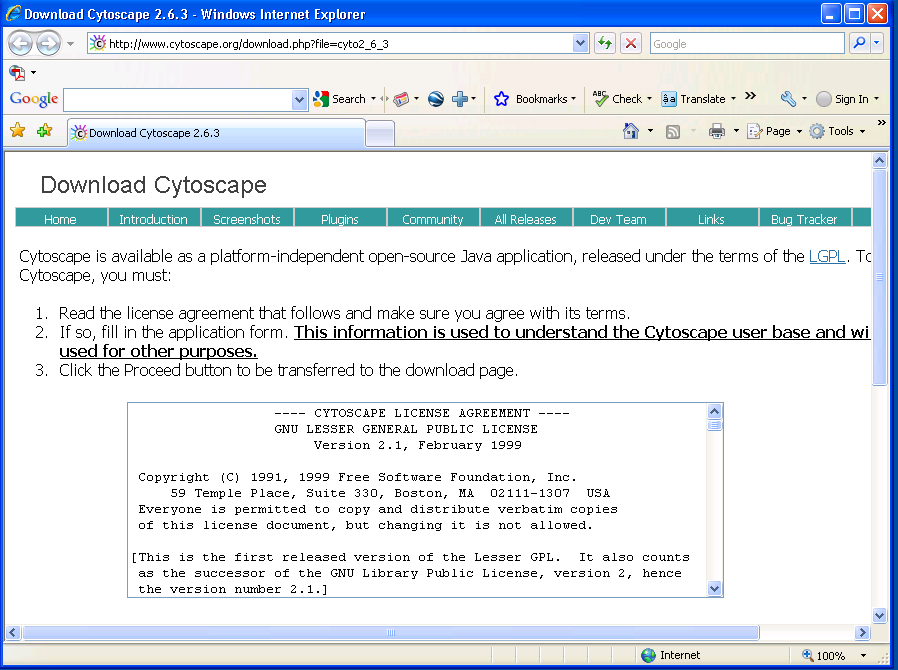
Download and install Cytoscape v2.6.3 (v2.6.0 or above required) from here.
Install MetScape Back to Top
There are several ways to install MetScape. You can use any one of them. Please click here for more information.
Startup Cytoscape Back to Top
For Windows:
Click Start->All Programs->Cytoscape->Cytoscape OR you can go to Cytoscape/plugins directory, double click cytoscape.bat or cytoscape.exe.
Use MetScape Back to Top
You need to install Cytoscape with MetScape on your computer before using MetScape if you have not done this before.
Startup Cytoscape ->click Plugins->MetScape->Build Network, you will see an input dialog box. There are three ways (corresponding to three tabs on MetScape main window) to generate compound networks.
Enter Compounds Back to Use MetScape
Enter compounds, one per line. You can choose to search by "Compound Names" or "KEGG IDs" from drop down list of "Input Type". There are two radio buttons on the dialog box. If button "CR" is checked, both compounds and reactions are shown as nodes in network. Otherwise, if "CO" is checked, only compounds will be shown as nodes and reactions will be shown as edges. Click "Compound Lookup" button to browse all compounds. You can drag and drop compounds to MetScape input dialog box.

Feature 1: Show Attributes
Double click on a compound or reaction node, the details of the compound or the reaction will be shown on the Cytoscape result panel.
- Compound attributes: KEGG ID, primary name, synonyms, formula, mass, cas, smile, KEGG 2D structure, links to MiMI, KEGG, PubChem, BioCyc, ChEBI, HMP and MeSH terms.
- Reaction attributes: equation, enzyme and corrsponding genes from MiMI, pathway, reversibility and links to MiMI and KEGG.
If reactions are shown as edges, double click on an edge, the reaction attributes will be shown on result panel.

Feature 2: Expand Network/Collapse Network
- Expand: right click on any node to show the pop up menu. Click "MetScape->Expand" to expand network with reactions and compounds associated with the chosen node that are not existing in the current network. The chosen node will be colored in purple as expansion seed node. Expansion compounds will be colored in green and expansion reactions will be colored in light blue.
- Collapse: right click the expansion seed compound (purple), then click "MetScape->Collapse" to collapse an expanded network. Choose "Restoring original network" can remove the unconnected nodes caused by "collapse" in different order.

Feature 3: Mouse Over
- Mouse over a compound (hexagon) node, all reactions that the compound is involved in will be highlighted.
- Mouse over a reaction (rectangle) node, all compounds that involve the reaction will be highlighted.
Feature 4: Create Sub Network
Right click on a node to show the pop up menu, click "MetScape->Create Subnetwork", all highlighted nodes (yellow) and edges (red) will be displayed in a new window as a sub network.

Load Experiment File Back to Using MetScape
Go back to MetScape input dialog box. Choose "Load Experiment File" tab, then click the button to choose a file to load. For input file with wide data range, you can choose to log the input data or scale the data from 0 to 10 to get better visualization result. The default option is "Original data". Please take a look of the file format, samples and data scale method used in MetScape.
Feature 5: Dynamic Expression
- Right click on a node to show the pop up menu-> click MetScape->Dynamic Expression to see a movie that shows node color and size changes according to the node (compound) values at different moments in the time series.
- You can see the actual compound values by clicking "Select Attributes" icon and choosing "expression1" (represent first parameter, e.g. concentration) and "expression2" (represent second parameter, e.g. fold change) on Cytoscape "Data Panel". If input normalized data is rescaled, origianl data is also shown on data panel.
- Click dismiss to end the movie and restore the network.

Feature 6: Pathway Filter
Right click on any node to get the pop up menu. Click MetScape->Pathway Filter. You will get a pathway list on the left panel. Choose pathway(s) and click Filter, Reactions that are involved in these pathways will be highlighted. Click "create subnetwork" button to create a pathway specific network on a new window.

Show Pathway Back to Using MetScape
Click Show Pathway tab->expand drop-down menu->choose a pathway, at the top of list, you can choose "All" to show all pathways.
You will get all reactions in the pathway. Double-headed arrow means the reaction is reversible. You can change the radio buttons to show all compounds or only main compounds (default), show reaction as node or edge (default).
